
Please scroll down to locate your bug zapper by brand name and model type and follow our instructions on how to replace your bug zapper globe.
At no time are you ever to remove the hood or cage of the bug zapper to replace the globe. This will then allow access to live parts and void warranty.
Which is your Bug Zapper?
Click the links below to find the instructions for that particular bug zapper.
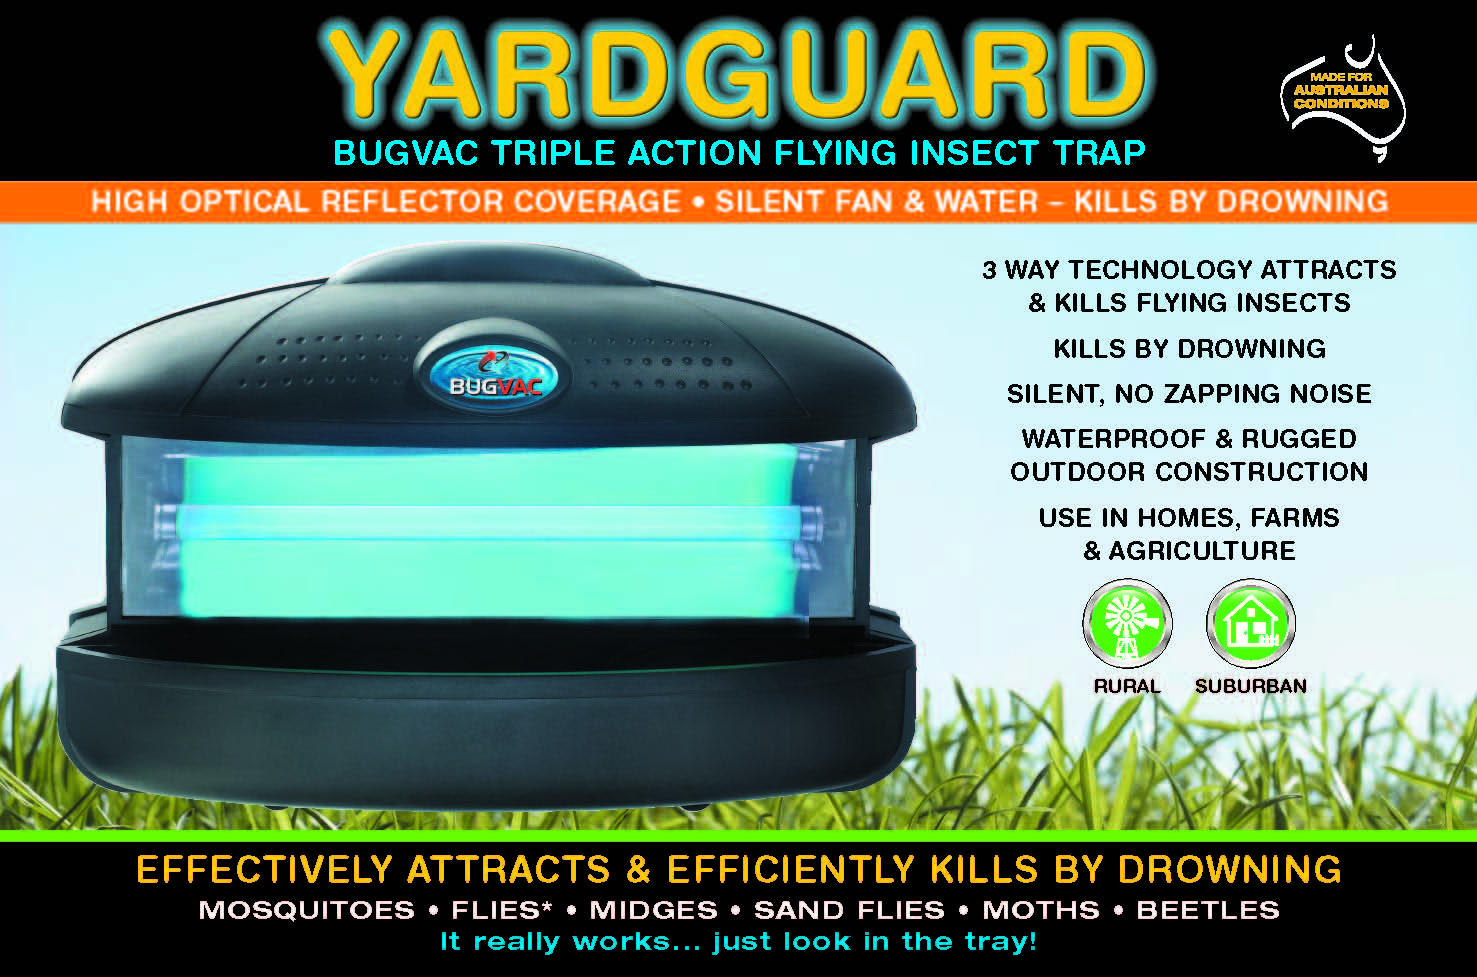
Yard Guard Bug Vac 8W
- Bug Zapper Product Number #71800
- Replacement Globe Product Number #71450
Instructions
- Unplug your Bug Vac and remove from its mounting position.
- Resting your Bug Vac on a steady surface remove the water draw from the trap.
- Remove the lens by locating the gap at the base of the lens in the centre, use your fore finger and thumb to squeeze the empty drawer holder together and carefully slide a thin metal object. such as a nail file or flat blade screwdriver into the gap.
- Gently angle the object behind the lens to raise the centre and release the left tab by sliding the lens to the right. Repeat by sliding the lens to the left to release the right tab.
- Twist the globe to open the lamp holder to remove the lamp.
- Replace with new replacement globe cat number #71450.
- Twist the new globe into place to close the lamp holder.
- Replace the lens by inserting the left tab into its corresponding hole and repeat with the right tab.
- Secure the lens by pushing it downwards, you will feel it click into place.
- Replace the drawer filled with water and several drops of detergent.
- Plug your bug zapper into the power socket and the globe should light up.
Troubleshooting your globe
- Following steps 1-5 check the globe is secure in the lamp holder and replace plastic cover.
- Use genuine yard guard replacement lamps in your bug zapper.
- If you have followed these steps and your zapper still won’t light up, please contact us.
- Our consumer warranty is 3 months on globes
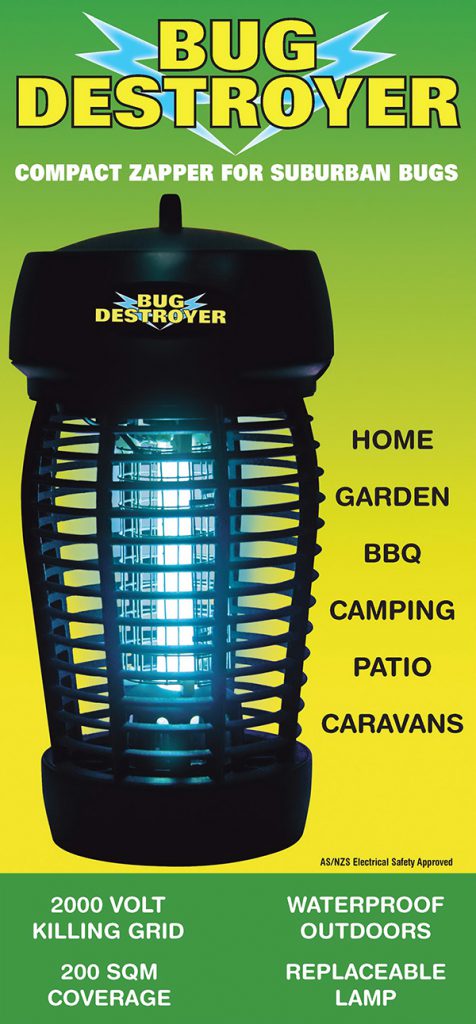
Bug Blaster/ Bug Destroyer BD10 / BB10 10W
- Bug Zapper Product Number #71348 and #71350
- Replacement Globe Product Number #71465
Instructions
- Unplug your bug zapper and remove from its mounting position
- Holding your bug zapper, turn it upside down so the hood is facing away from you.
- Access the light by locating the lever in the centre of the bug zapper and pull with your finger towards you.
- The bulb cover will open and you will be able to access the replacement globe.
- Gently pull at the globe to remove it from the lamp holder.
- Replace with new replacement globe cat number #71465
- Push the globe securely into the bulb holder
- Replace plastic cover on the underside of the bug zapper and secure by again pulling the lever towards you and then releasing once the cover has closed securely.
- Plug your bug zapper into the power socket and the globe should light up.
TROUBLESHOOTING YOUR GLOBE
- Following steps 1-4 check the globe is secure in the lamp holder and replace plastic cover.
- Use genuine yard guard replacement lamps in your bug zapper
- If you have followed these steps and your zapper still won’t light up, please contact us.
- Our consumer warranty is 3 months on globes
Mozzie Attack Plus
- Bug Zapper Product Number #71355
- Replacement Globe Product Number #71452
Instructions
- Unplug your bug zapper and remove from its mounting position
- Holding your bug zapper, turn it upside down so the hood is facing away from you.
- Access the light by locating the lever in the centre of the bug zapper and pull with your finger towards you.
- The bulb cover will open and you will be able to access the replacement globe.
- Gently pull at the globe to remove it from the lamp holder.
- Replace with new replacement globe cat number #71452
- Push the globe securely into the bulb holder
- Replace plastic cover on the underside of the bug zapper and secure by again pulling the lever towards you and then releasing once the cover has closed securely.
- Plug your bug zapper into the power socket and the globe should light up.
TROUBLESHOOTING YOUR GLOBE
- Following steps 1-4 check the globe is secure in the lamp holder and replace plastic cover.
- Use genuine yard guard replacement lamps in your bug zapper
- If you have followed these steps and your zapper still won’t light up, please contact us.
- Our consumer warranty is 3 months on globes

Stinger SBK20/ Coolabah 20W Bug Zapper/ Electra Zapp 20W
- Bug Zapper Product Number #71369 (stinger 20W) #40185 (Coolabah 20W) #71505 (Electra Zapp 20W)
- Replacement Globe Product Number #71470
Instructions
- Unplug your bug zapper and remove from its mounting position
- Holding your bug zapper, turn it upside down so the hood is facing away from you.
- Using a phillips head screwdriver remove the 2-3 screws located on the underside of the bug zapper.
- Remove the plastic cover sealing the bug zapper globe in place.
- Gently pull at the globe to remove it from the lamp holder.
- Replace with new u shape replacement globe cat number #71470
- Push the globe securely into the bulb holder
- Replace plastic cover on the underside of the bug zapper and secure with screws
- Plug your bug zapper into the power socket and the globe should light up.
Troubleshooting your globe
- Following steps 1-4 check the globe is secure in the lamp holder and replace plastic cover.
- Use genuine yard guard replacement lamps in your bug zapper
- If you have followed these steps and your zapper still won’t light up, please contact us.
- Our consumer warranty is 3 months on globes

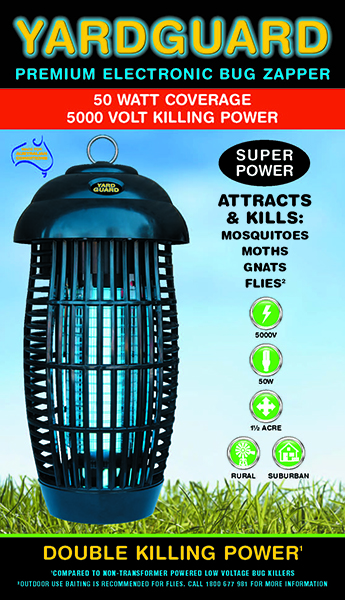
Yard Guard 20W
- Bug Zapper Product Number #71362
- Replacement Globe Product Number #71475
Instructions
- Unplug your bug zapper and remove from its mounting position
- Holding your bug zapper, turn it upside down so the hood is facing away from you.
- Using a phillips head screwdriver remove the 2-3 screws located on the underside of the bug zapper.
- Remove the plastic cover sealing the bug zapper globe in place.
- Gently pull at the globe to remove it from the lamp holder.
- Replace with new u shape replacement globe cat number #71470
- Push the globe securely into the bulb holder
- Replace plastic cover on the underside of the bug zapper and secure with screws
- Plug your bug zapper into the power socket and the globe should light up.
Troubleshooting your globe
- Following steps 1-4 check the globe is secure in the lamp holder and replace plastic cover.
- Use genuine yard guard replacement lamps in your bug zapper
- If you have followed these steps and your zapper still won’t light up, please contact us.
- Our consumer warranty is 3 months on globes

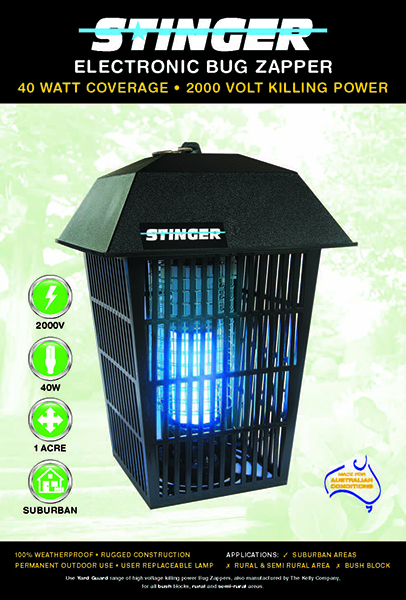
Stinger 25W and Stinger 26W
- Bug Zapper Product Number #71383
- Replacement Globe Product Number #71467 RB26ESL or #71472 RB25 U Shape 4 pins
- You must identify which replacement globe suits your bug zapper. Globes are not interchangeable.
- Locate the category number for your globe on the plastic rim below the screw or 4 pin connection.
Globe #71472 RB25 U Shape Instructions
- Unplug your bug zapper and remove from its mounting position
- Holding your bug zapper, turn it upside down so the hood is facing away from you.
- Using a phillips head screwdriver remove the 2-3 screws located on the underside of the bug zapper.
- Remove the plastic cover sealing the bug zapper globe in place.
- Gently pull at the globe to remove it from the lamp holder.
- Replace with new u shape replacement globe cat number #71472
- Push the globe securely into the bulb holder
- Replace plastic cover on the underside of the bug zapper and secure with screws
- Plug your bug zapper into the power socket and the globe should light up.
Globe #71467 RB26ESL Energy Saving Lamp Instructions
- Unplug your bug zapper and remove from its mounting position
- Holding your bug zapper, turn it upside down so the hood is facing away from you.
- Using a phillips head screwdriver, remove the 2-3 screws located on the underside of the bug zapper.
- Remove the plastic cover sealing the bug zapper globe in place.
- Gently remove the globe. Twist replacement globe #71467 in an anticlockwise direction to remove
- Replace with correct globe RB26ESL #71467
- Secure the globe by twisting in a clockwise direction.
- Replace plastic cover on the underside of the bug zapper and secure with screws
- Plug your bug zapper into the power socket and the globe should light up.
TROUBLESHOOTING YOUR GLOBE
- Following steps 1-4 check the globe is secure in the lamp holder and replace plastic cover.
- Use genuine yard guard replacement lamps in your bug zapper
- If you have followed these steps and your zapper still won’t light up, please contact us.
- Our consumer warranty is 3 months on globes

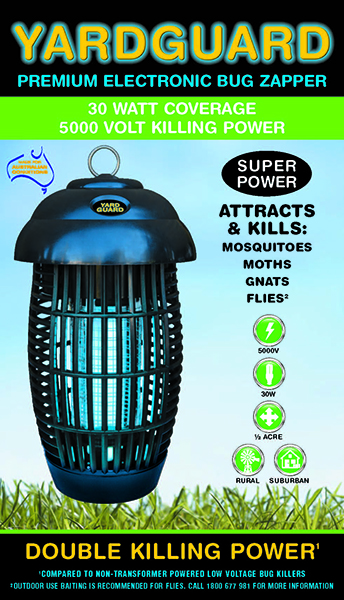
Yard Guard 30W
- Bug Zapper Product Number #71530
- Replacement Globe Product Number #71455 RB30ESL or #71480 RB30 U Shape 4 pins
- You must identify which replacement globe suits your bug zapper. Globes are not interchangeable.
- Locate the category number for your globe on the plastic rim below the screw or 4 pin connection.
Globe #71480 RB30 U Shape Instructions
- Unplug your bug zapper and remove from its mounting position
- Holding your bug zapper, turn it upside down so the hood is facing away from you.
- Using a phillips head screwdriver remove the 2-3 screws located on the underside of the bug zapper.
- Remove the plastic cover sealing the bug zapper globe in place.
- Gently pull at the globe to remove it from the lamp holder.
- Replace with new u shape replacement globe cat number #71480
- Push the globe securely into the bulb holder
- Replace plastic cover on the underside of the bug zapper and secure with screws
- Plug your bug zapper into the power socket and the globe should light up.
Globe #71455 RB30ESL Energy Saving Lamp Instructions
- Unplug your bug zapper and remove from its mounting position
- Holding your bug zapper, turn it upside down so the hood is facing away from you.
- Using a phillips head screwdriver, remove the 2-3 screws located on the underside of the bug zapper.
- Remove the plastic cover sealing the bug zapper globe in place.
- Gently remove the globe. Twist replacement globe #71455 in an anticlockwise direction to remove
- Replace with correct globe RB30ESL #71455
- Secure the globe by twisting in a clockwise direction.
- Replace plastic cover on the underside of the bug zapper and secure with screws
- Plug your bug zapper into the power socket and the globe should light up.
TROUBLESHOOTING YOUR GLOBE
- Following steps 1-4 check the globe is secure in the lamp holder and replace plastic cover.
- Use genuine yard guard replacement lamps in your bug zapper
- If you have followed these steps and your zapper still won’t light up, please contact us.
- Our consumer warranty is 3 months on globes
Yard Guard 40W
- Bug Zapper Product Number #71365
- Replacement Globe Product Number #71479
Instructions
- Unplug your bug zapper and remove from its mounting position
- Holding your bug zapper, turn it upside down so the hood is facing away from you.
- Using a phillips head screwdriver remove the 2-3 screws located on the underside of the bug zapper.
- Remove the plastic cover sealing the bug zapper globe in place.
- Gently pull at the globe to remove it from the lamp holder.
- Replace with new u shape replacement globe cat number #71479
- Push the globe securely into the bulb holder
- Replace plastic cover on the underside of the bug zapper and secure with screws
- Plug your bug zapper into the power socket and the globe should light up.
TROUBLESHOOTING YOUR GLOBE
- Following steps 1-4 check the globe is secure in the lamp holder and replace plastic cover.
- Use genuine yard guard replacement lamps in your bug zapper
- If you have followed these steps and your zapper still won’t light up, please contact us.
- Our consumer warranty is 3 months on globes

Stinger 40W
- Bug Zapper Product Number #71384
- Replacement Globe Product Number #71468 RB40ESL or #71488 RB40S U Shape 4 pins
- You must identify which replacement globe suits your bug zapper. Globes are not interchangeable.
- Locate the category number for your globe on the plastic rim below the screw or 4 pin connection.
Globe #71488 RB40S U Shape Instructions
- Unplug your bug zapper and remove from its mounting position
- Holding your bug zapper, turn it upside down so the hood is facing away from you.
- Using a phillips head screwdriver remove the 2-3 screws located on the underside of the bug zapper.
- Remove the plastic cover sealing the bug zapper globe in place.
- Gently pull at the globe to remove it from the lamp holder.
- Replace with new u shape replacement globe cat number #71488
- Push the globe securely into the bulb holder
- Replace plastic cover on the underside of the bug zapper and secure with screws
- Plug your bug zapper into the power socket and the globe should light up.
Globe #71468 RB40ESL Energy Saving Lamp Instructions
- Unplug your bug zapper and remove from its mounting position
- Holding your bug zapper, turn it upside down so the hood is facing away from you.
- Using a phillips head screwdriver, remove the 2-3 screws located on the underside of the bug zapper.
- Remove the plastic cover sealing the bug zapper globe in place.
- Gently remove the globe. Twist replacement globe #71468 in an anticlockwise direction to remove
- Replace with correct globe RB40ESL #71468
- Secure the globe by twisting in a clockwise direction.
- Replace plastic cover on the underside of the bug zapper and secure with screws
- Plug your bug zapper into the power socket and the globe should light up.
TROUBLESHOOTING YOUR GLOBE
- Following steps 1-4 check the globe is secure in the lamp holder and replace plastic cover.
- Use genuine yard guard replacement lamps in your bug zapper
- If you have followed these steps and your zapper still won’t light up, please contact us.
- Our consumer warranty is 3 months on globes
Yard Guard 50W
- Bug Zapper Product Number #71550
- Replacement Globe Product Number #71460 RB50ESL or #71481 RB50 U Shape 4 pins
- You must identify which replacement globe suits your bug zapper. Globes are not interchangeable.
- Locate the category number for your globe on the plastic rim below the screw or 4 pin connection.
Globe #71481 RB50 U Shape Instructions
- Unplug your bug zapper and remove from its mounting position
- Holding your bug zapper, turn it upside down so the hood is facing away from you.
- Using a phillips head screwdriver remove the 2-3 screws located on the underside of the bug zapper.
- Remove the plastic cover sealing the bug zapper globe in place.
- Gently pull at the globe to remove it from the lamp holder.
- Replace with new u shape replacement globe cat number #71481
- Push the globe securely into the bulb holder
- Replace plastic cover on the underside of the bug zapper and secure with screws
- Plug your bug zapper into the power socket and the globe should light up.
Globe #71460 RB50ESL Energy Saving Lamp Instructions
- Unplug your bug zapper and remove from its mounting position
- Holding your bug zapper, turn it upside down so the hood is facing away from you.
- Using a phillips head screwdriver, remove the 2-3 screws located on the underside of the bug zapper.
- Remove the plastic cover sealing the bug zapper globe in place.
- Gently remove the globe. Twist replacement globe #71460 in an anticlockwise direction to remove
- Replace with correct globe RB50ESL #71460
- Secure the globe by twisting in a clockwise direction.
- Replace plastic cover on the underside of the bug zapper and secure with screws
- Plug your bug zapper into the power socket and the globe should light up.
TROUBLESHOOTING YOUR GLOBE
- Following steps 1-4 check the globe is secure in the lamp holder and replace plastic cover.
- Use genuine yard guard replacement lamps in your bug zapper
- If you have followed these steps and your zapper still won’t light up, please contact us.
- Our consumer warranty is 3 months on globes
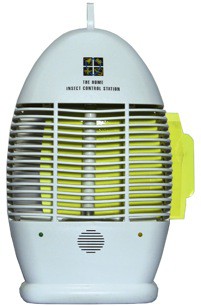
Home Insect Control Station ICS
- Bug Zapper Product Number #71968,
- Replacement Globe Product Number #71462
Instructions
- Unplug your bug trap and remove from its mounting position.
- Using a very thin Philips Head Screw driver remove/ loosen 6 screws located at the back of the Insect Control Station and separate the trap into two halves (wires will remain connected between both halves)
- Slide both white plates connected to the lamp out of their respective holders.
- Remove the lamp by releasing the pins on either side of the globe
- Replace with correct globe #71462.
- Align the wire in the gaps on the top plate.
- Slide both plates back into their respective holders.
- Reconnect both halves by matching lamp base plates with channels on the second half of the trap.
- Press sides together and secure the two halves with 6 screws.NB. In joining the halves make sure-
- The hanging hook is in place at the top of the unit.
- The two sets of wires running down both vertical edges are slotted into their respective channels.
TROUBLESHOOTING YOUR GLOBE
- Following steps 1-4 check the globe is secure in the lamp holder and replace plastic cover.
- Use genuine yard guard replacement lamps in your bug zapper
- If you have followed these steps and your zapper still won’t light up, please contact us.
- Our consumer warranty is 3 months on globes
Bug Sentinel CMZ985
- Bug Zapper Product Number #71985
- Replacement Globe Product Number #71462
Instructions
- Unplug your bug zapper and remove from its mounting position.
- Using a very thin Philips Head Screw driver remove 3 screws located in the handle of the bug sentinel
- Remove both sections of hood to access the globe
- Using two fingers pull the latch of the bulb clip in an upwards direction (Bulb clip latch is located where the black wire disappears into the centre of the bug zapper)
- Turn to unit upside down to allow gravity to remove the globe
- Replace with correct genuine yard guard globe cat #71462
- Globe must fit into the lamp holder opening at the bottom of the bug zapper.
- Once fitted into the bottom lamp holder close the bulb clip by pushing gently on the latch in a downward motion to secure.
- Slide both sections of the hood back onto the body of the bug zapper, making sure the tabs on the lower section of the hood match up with the corresponding channels.
- Secure hood by replacing three screws back into the handle of the bug sentinel
TROUBLESHOOTING YOUR GLOBE
- Following steps 1-8 check the globe is secure in the lamp holder and replace plastic cover.
- Use genuine yard guard replacement lamps in your bug zapper
- If you have followed these steps and your zapper still won’t light up, please contact us.
- Our consumer warranty is 3 months on globes
